I was obsessed with making chocolate plastic years back.
I was (and still am) not very fond of fondant so I was trying to find a good alternative to it and I was so happy to have found a detailed step-by-step tutorial on how to make chocolate modeling clay from Baking Obsession (thank you!).
I’ve kept the recipe in my mind which is just really 2 ingredients-white (or dark) chocolate and light corn syrup.
I never did become good at it and I blame it on my naturally warm hands and my lack of patience. But I wanted to share this here in case you want to try it, too.
It’s great alternative to fondant in covering cupcake tops or making simple cut-outs and pretty, dainty white roses (you may of course, add your fave color all you want).
Be warned though, based on my experience and it could just be me, but it is softer than fondant, it tears easily not suitable for regular-sized cakes. But it is definitely better-tasting than fondant!
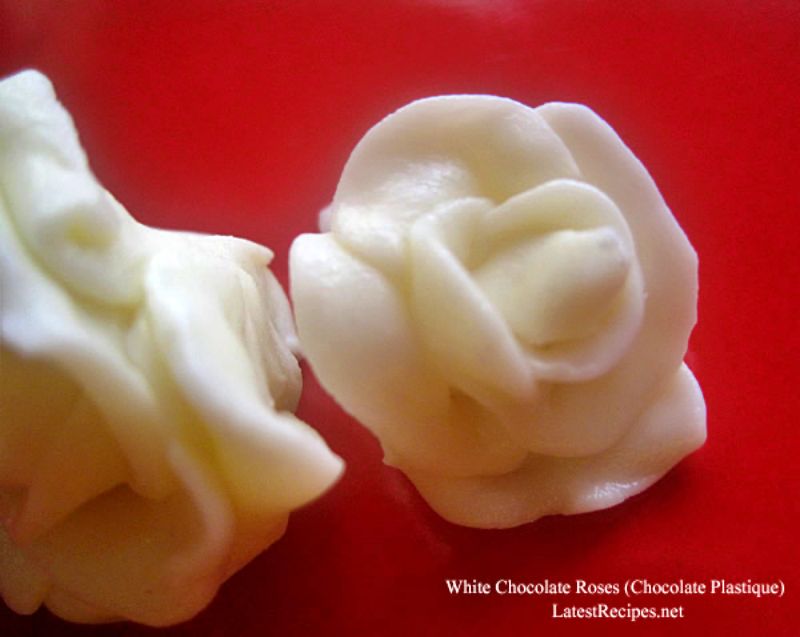
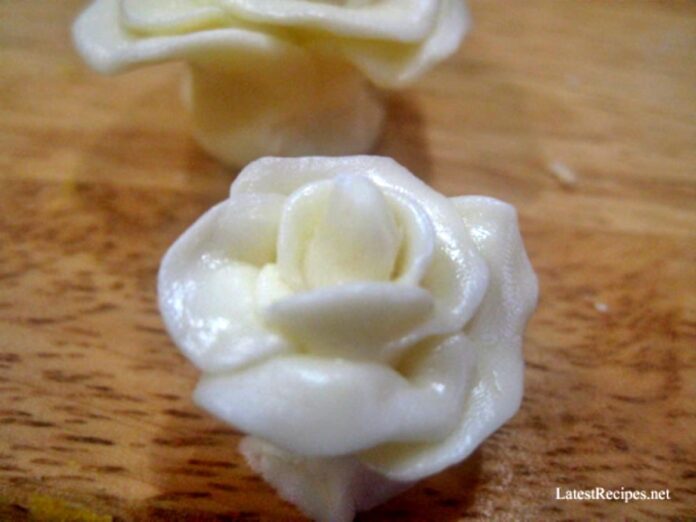
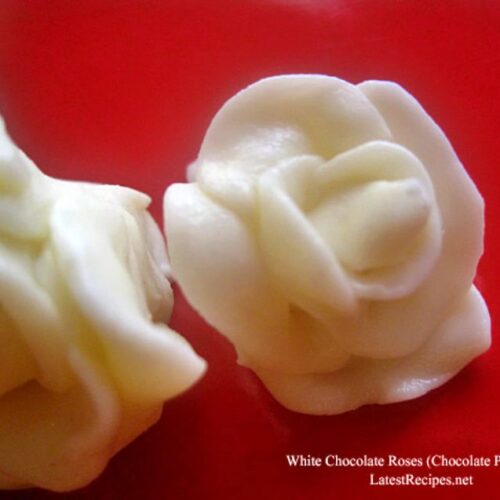
Here’s my recent try at making chocolate roses using chocolate plastic…don’t say it, I know it’s not pretty..if you want pretty and awesome., go here– where you will also find a detailed instructions. 🙂
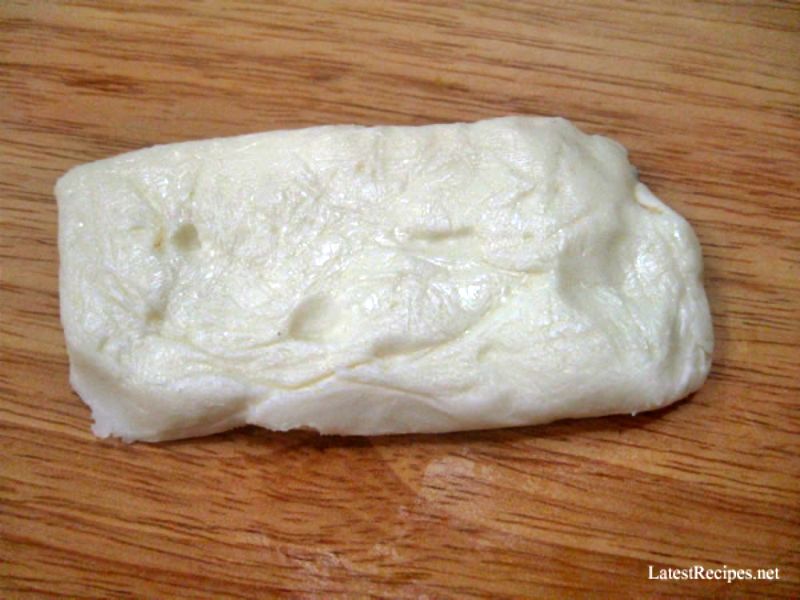
Here’s the dough (a portion of it) after a few hours in the fridge..let it come to room temp before you start kneading
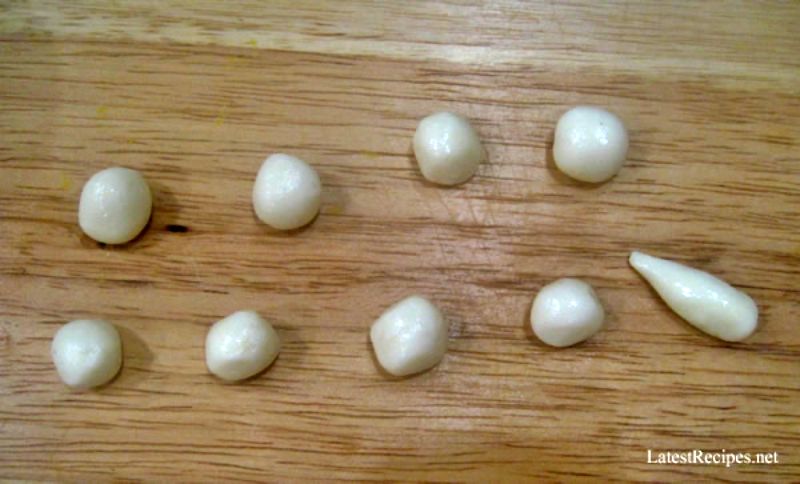
To make chocolate roses, you need to make little balls like these and flatten each one by patting gently with your fingers to make it look like petals
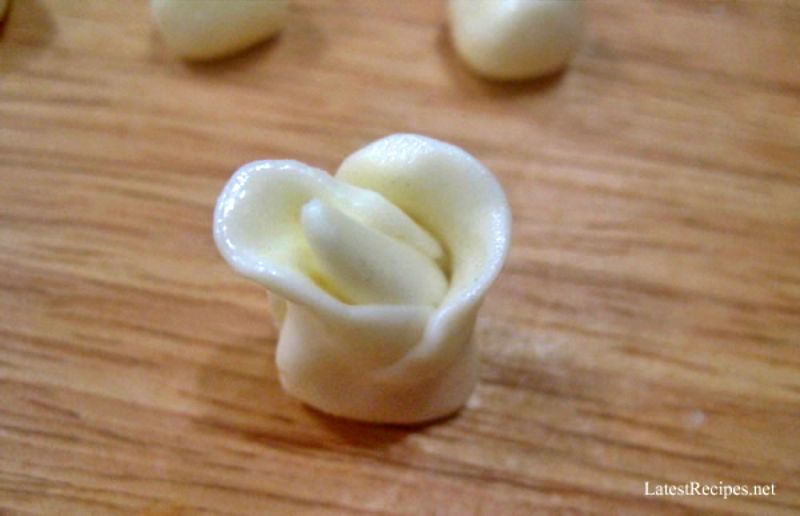
press each petal gently on the bud, continue until you’re satisfied with the size of your rose/s
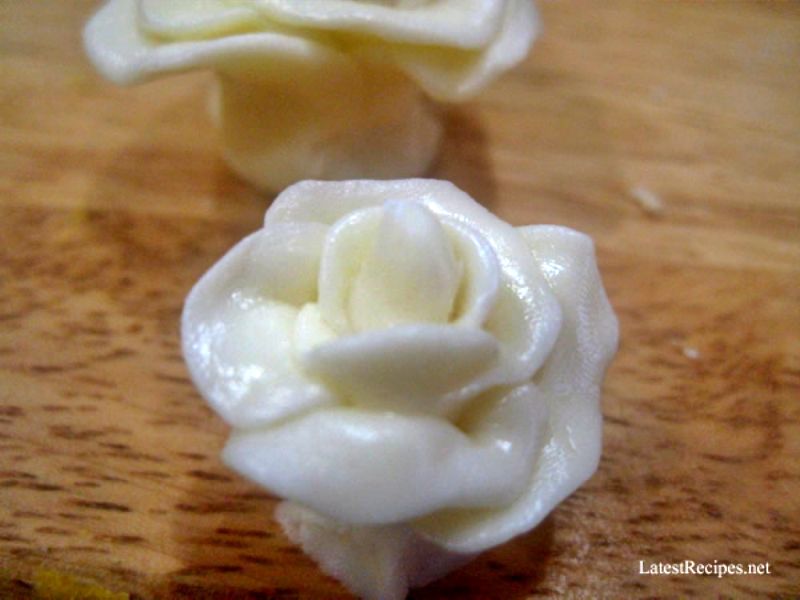
Here’s my finished roses..don’t let the sight of it stop you from trying to make your own chocolate modeling clay 😀
Chocolate Plastic (Chocolate Modeling Clay/Dough)
Equipment
Ingredients
- 8 oz White Chocolate or milk chocolate / finely chopped
- ¼ cup Light Corn Syrup or 4 tablespoon
FOR DARK CHOCOLATE MODELING CLAY:
- 1 pound Dark Chocolate 16oz
- ⅔ cup Light Corn Syrup
Instructions
- Put chocolate in a heat-proof bowl and set the bowl of chocolate in the hot water.
- Stir constantly until the chocolate is melted and smooth.
- Off the heat, add the corn syrup and stir with a wooden spoon until the mixture thickens and pulls away from the sides of the bowl.
- Transfer the chocolate mixture onto a piece of plastic wrap and pat it into a thin disk, about 6 mm thick.
- Fold the plastic wrap over the chocolate and refrigerate for at least a couple of hours or up to several weeks (check the expiration date on your chocolate).
- Take the chocolate plastic out of the refrigerator.
- Leave it on a counter for 30 minutes to soften slightly.
- Knead the plastic with your hands to make it smooth and pliable.
- Use it to make roses or roll it to a certain thickness and cut different fun shapes with it to decorate cakes and cupcakes.

